Saturday, December 06, 2014

Quick Crochet Gifts: His 'n' Hers Linen Stitch Scarf with Contrast Ends ( Plus one for the dog!)

Wouldn't this be the perfect christmas gift for a couple with a dog?


However that's not what I made them for! The scarves are going to a couple, but the dog scarf is a separate gift for a friend's dog.


This whole set came about quite by accident. I decided to make stripy scarves for a couple, and then decided these colours would be nice. The light grey is the same for each scarf, but I've team it with charcoal for the "His" and Oatmeal for the "Hers".

I really wanted to make these with just 200g for each scarf, but was concerned that it wouldn't be enough so erred on the short side. However it turned out that there was much more yarn than I thought and decided to use the leftovers to make contrast ends.

There was STILL some leftover so I decided to make the dog scarf in all three colours, and there was STILL a little bit leftover!!

I thought I'd include basic instructions in case anyone was interested.


Yarn: 2 x100g StyleCraft Life DK in two different colours (you could use other yarn of course, but I know that there is enough with this yarn)

hook: 4mm

instructions

Chain approx 255 in colour A (or more if you want less contrast edge - up to about 350 for no contrast).

The whole scarf is made with Linen Stitch
Which is basically 1dc -british (or 1sc american) then one chain.

here's a great youtube video that will explain it better


Anyway......

-after finising your chain, 1dc (all my instructions are british) into 3nd chain, chain 1, skip next chain in chain row, dc into next chain. continue accross to end. finishing with a dc.

Change to colour B
-turn, chain 2, *1 dc into first chain space, chain 1, continue to end from *. 1 dc into turning chain.
-repeat this row.
(so all stripes except first and last, are made up of two rows)

Change to colour A and repeat last two rows.

Continue in this way, carrying  yarn up the side, until you have 21 stripes. (40 rows). The first and last stripes only have one row.

Contrast Stripes:

Do not cut yarn.

Take the colour you have used last, and chain two, turn work sideways and work linen stitch along end, stitching 1 dc into each stripe, finishing with a dc as close to edge as you can.
Continue in one colour linen stitch until the contrast end is the length you require.

Fasten off

Go to other end of work and pick up othe colour which is still attached and do the same to form contrast end.

Sew in ends.


The Doggy Scarf. (modelled by the gorgeous Hugo)
PLEASE NOTE: I have had the following comment on my blog
"I don't want to be a party pooper, but while the doggy scarf is cute it could potentially be deadly to the poor pooch. All it would take is for the loose end to get caught on something (or grabbed by another over enthusiastic dog) and it would tighten. Perhaps it could be reworked to not be adjustable, or to have a breakaway part somewhere."

This is certainly something to bear in mind. So Please use this pattern with caution. Maybe only use it as a photo prop. 
For this I did a linen stich in three colours, changing colours after each row. You will always know which colour is next as it will be right there waiting for you at the beginning of the row.

Chain the desired length.

Do a 3 colour linen stitch until desired width.

Turn as for contrast edge and linen stitch accross. (I pulled mine in a bit and doubled up some of the stitches so that the contrast edge is narrower than the scarf). Linen stitch in one colour until desired length when folded, and sew in half.

Finish by doing a single row of linen stitch in same colour along other edge (this covers all of the carrying threads)

Fasten off and sew in ends.


Tuesday, November 18, 2014

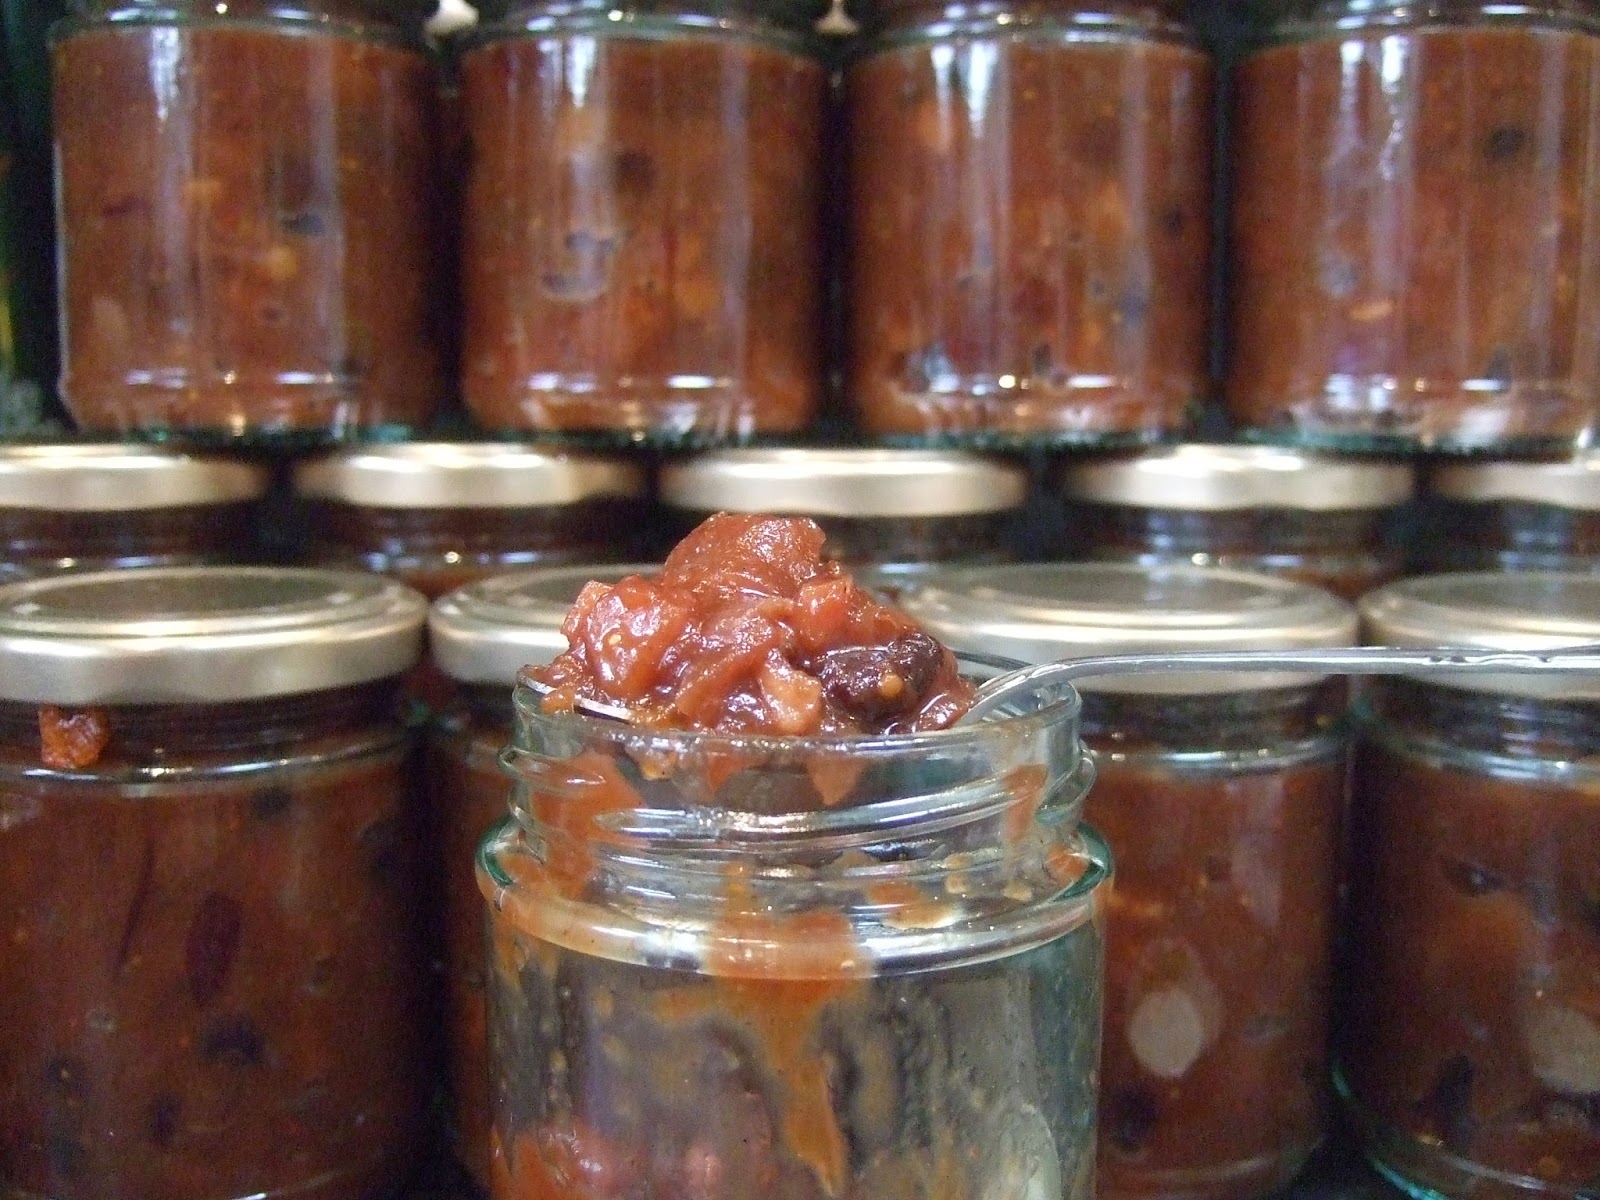
Chutney Tuesday: Christmas Chutney 2014

 I thought it was about time that I cracked on with a chutney for christmas. I made one last year that was nice but I decided to refine it a bit, and make a much larger quantity.

 Ingredients
6 tbls veg oil
1kg white onions - diced
4 Bramley Apples - peeled and diced
2 Parsnips - peeled and very finely diced
5 fresh figs - base and stalk removed and diced
zest and juice of one large orange
400g frozen cranberries (I would have used fresh if they had any)
500g dried mixed fruit
500g dark soft brown sugar
375 ml sherry vinegar
125 cider vinegar
spices:
10 cloves- I just pinched of the heads and crush them with my fingers and dispose of the stalks
2 tsp ground coriander
3 tsp ground ginger
2 tsp cinnamon
2 tsp mustard seeds (whole)
1/2 grated nutmeg

optional - a large slug of brandy

method
Heat oil, add onions and spices and cook until soft.
Remove from heat and add all of the other ingredients (except brandy).
Stir well and return to heat. Bring to boil, cover and simmer for approx 40 mins or until parsnip softened. Stir regularly.
Uncover, add brandy and simmer for approx 20 mins until reduced to a chutney consistency.
Spoon into sterilied jars and seal. Makes approx 3 to 3.5 litres.


Tuesday, October 14, 2014

Chutney Tuesday: plum and apricot


Today's plum chutney is again based heavily on a chutney on bbc good food. However I wanted to bulk it out so I've added a lot more onions. I've also changed a few other bits and bobs.

Ingredients
5 tbls veg oil
1200g plum. chopped finely (leave skins on)
4 medium red onions (sliced finely)
1 kg white onions (diced finely)
250g dried apricot (roughly chopped using oiled knife)
350ml red wine vinegar
100ml sherry vinegar
500g dark soft brown sugar
1.5 tblsp ground ginger
1.5 tblsp mustard seeds
1.5 tblsp ground cumin
1.5 tblsp smoked paprika
1.5 tblsp crushed chillies
large pinch salt

heat oil and add red onions and cook until soft.
add diced white onions and spices and cook until soft.
add all other ingredients, stir well. bring to boil and simmer with lid on for 10 mins.
uncover and simmer until colour becomes deep red and consistency is jammy.
stir frequently during cooking.

spoon into sterilised jars while hot and seal.
makes 16-17 190ml jars (about 3.25 litres)

Tuesday, October 07, 2014

Chutney Tuesday: Spicy Pear and Fig Chutney

It's been a while since I did a Chutney Tuesday, but I really fancied making some today. I was going for massive quantity, as it's really useful to have these in for christmas gifts, etc. If you want to make it in smaller quantities it will work just as well.

ingredients:
4tbls veg oil
approx 2.5 kg pears (before prepararation)
1 kg onions
4 fresh figs
2 large red chillis (just use one if you don't want it so spicy)
4 cloves garlic
3tsp ground coriander
1tsp ground ginger
1 pinch salt
500g dark soft brown sugar
350ml cider vinegar

Peel pears and chop into very small pieces. Finely dice onions. Slice chillis finely, crush garlic. Chop fig- remove stem and base and chop into small pieces/

Heat oil, add ginger, coriander, garlic and chilli. Cook for a minute. Add onion and cook until softened stirring regularly.
Add pear and fig, stir well and cook for a few minutes.
Add vinegar, sugar and salt and bring to boil. Cover and simmer for 30 mins, then uncover and simmer until jammy in appearance (about 25mins)
Whilst still hot spoon into hot sterilised jars and seal.

makes 13x190ml jars (about 2.5 litres)

Sunday, October 05, 2014

Autumn birthday card.

I love the colours of autumn and they are so easy to use in crafting. I was so pleased then that two of my favourite challenges were takinf autumn as their themes.
Less is more has a colour challenge : "Autumns's bounty" and One Layer Simplicity Challenge has the theme "turn to fall"

I also needed a birthday card for a friend that loves autumn colours so the timing was perfect.


The card was made with an old set of "see-Ds" stamps (I don't even know if they still make these, but if they do the set is whimsical garden) and then, of course the colours are distress inks: vintage photo, spiced marmalade, barn door and mustard seed. I just used post-it notes for masking and randomly stamped.


Monday, August 25, 2014

beach hut wedding post box

A very good friend of mine had a beach themed wedding reception and asked me if I would make her a post box for cards. Of course it had to be a beach hut!


This was made from cardboard boxes, and I'm quite pleased with how it turned out. One side of the roof lifts up in order to access the cards inside.

wacky stripes baby jumper and hat

 I decided to have a play about with some fun colours and made this cute little baby set for a little baby that is due any day now.


The jumper is based on my favourite pattern  (Teddy yarns 717) that I use all of the time.


 It has buttons on the back, so the neck goes over the head easily.


My favourite bit is the single green stripe, it really lifts the colour scheme.

The hat is really simple. I knit it on straight needles as I felt that joining up stripes was less hassle than trying to knit jogless stripes.
The yarn is a cheap dk yarn. I cast on 70 stitches (3.25mm needles0, 2x2 rib for six rows, switch to 4mm needles, st.st. until hat is 3.75inches. then a simple decrease.
row 1 k4 k2tog accross
row 2 purl
row 3 k3 k2tog accross
row 4 purl
row 5 k2 k2tog accross
row 6 purl
row 7 k1 k2tog accross
row 8 purl
row 9 k2tog accross
row 10 p2tog accross
pull up remaining stitches.

sew up seam, add a pompom and it's done.


Thursday, July 17, 2014

PaperArtsy Guest Post: Kraft and Black

Yesterday, I had another guest spot on the Paperartsy Blog. Pop over and have a look at what I've been up to.


And don't forget to take part in the challenge too, to win stamps!!

Saturday, June 14, 2014

Clean and Simple Fathers day Card

Leaving it until the last minute as usual, I needed a fathers day card for the boys to give to their dad tomorrow.

My Stampotique stamps haven't been out of the box much recently, but I remembered these owl stamps (designed by Jo Capper-Sandon) and thought that they would be perfect with this silly sentiment (which I did with individual letters.
The images are coloured with pencils


Sunday, May 18, 2014

knitted baby hat with moss stitch bow

 This hat is the result of spending way too much time on Pinterest

I saw this lovely hat and then this lovely bow and decided to combine the two to make this using this guide to making any sized hat, based on the gauge of your knitting (it's an amazing website, the only thing I have changed is doing the rib on needles a size down from main hat)

 If you look closely there is a mistake in the rib beneath the bow, where I have two knit stitches together.
The bow is placed over the jog in the stripe, which is handy.
This is made in a bby size, but I'm thinking of making one to fit me.

Thursday, May 15, 2014

Quick crochet gift :crochet flower brooch tutorial


I have been looking for the perfect knitted or crocheted flower to make quick crochet gifts for ages (my pinterest boards are full of them) but I've never quite find what I was looking for.
I wanted something not too small but not too large, that was very quick too make, that sat flat, and didn't use much yarn.
I came up with this pattern while experimenting with a dahlia pattern.

 This is a view of the back, with a safety pin attched. It would look better with a proper brooch back.
 And here are a couple, experimenting with different colours.
 To make this use a scrap of yarn. (the one pictured used just 3g of yarn!) a suitable hook, and a yarn sewing needle.
 make 4 chain and join with a slip stitch

 chain 1 (counts as a stitch)
 double crochet (british) 7 times into circle .......(americans use sc everywhere it says dc or double crochet)
 Join with a slip stitch (you should have 8 stitches)
 chain 1 (counts as a stitch)
2 dc into base of chain
3 dc into each stitch, then slip stitch into first chain (24 stitches in total)


chain 1, 4 dc into base of chain,
 5 dc into each stitch
 join with a slip stitch, knot and break yarn leaving a long tail (120 stitches)

N.B. if you don't end up with 120 stitches, don't panic, just take whatever you have and divide it by six and use this for the count in the next step instead of the 20 given.
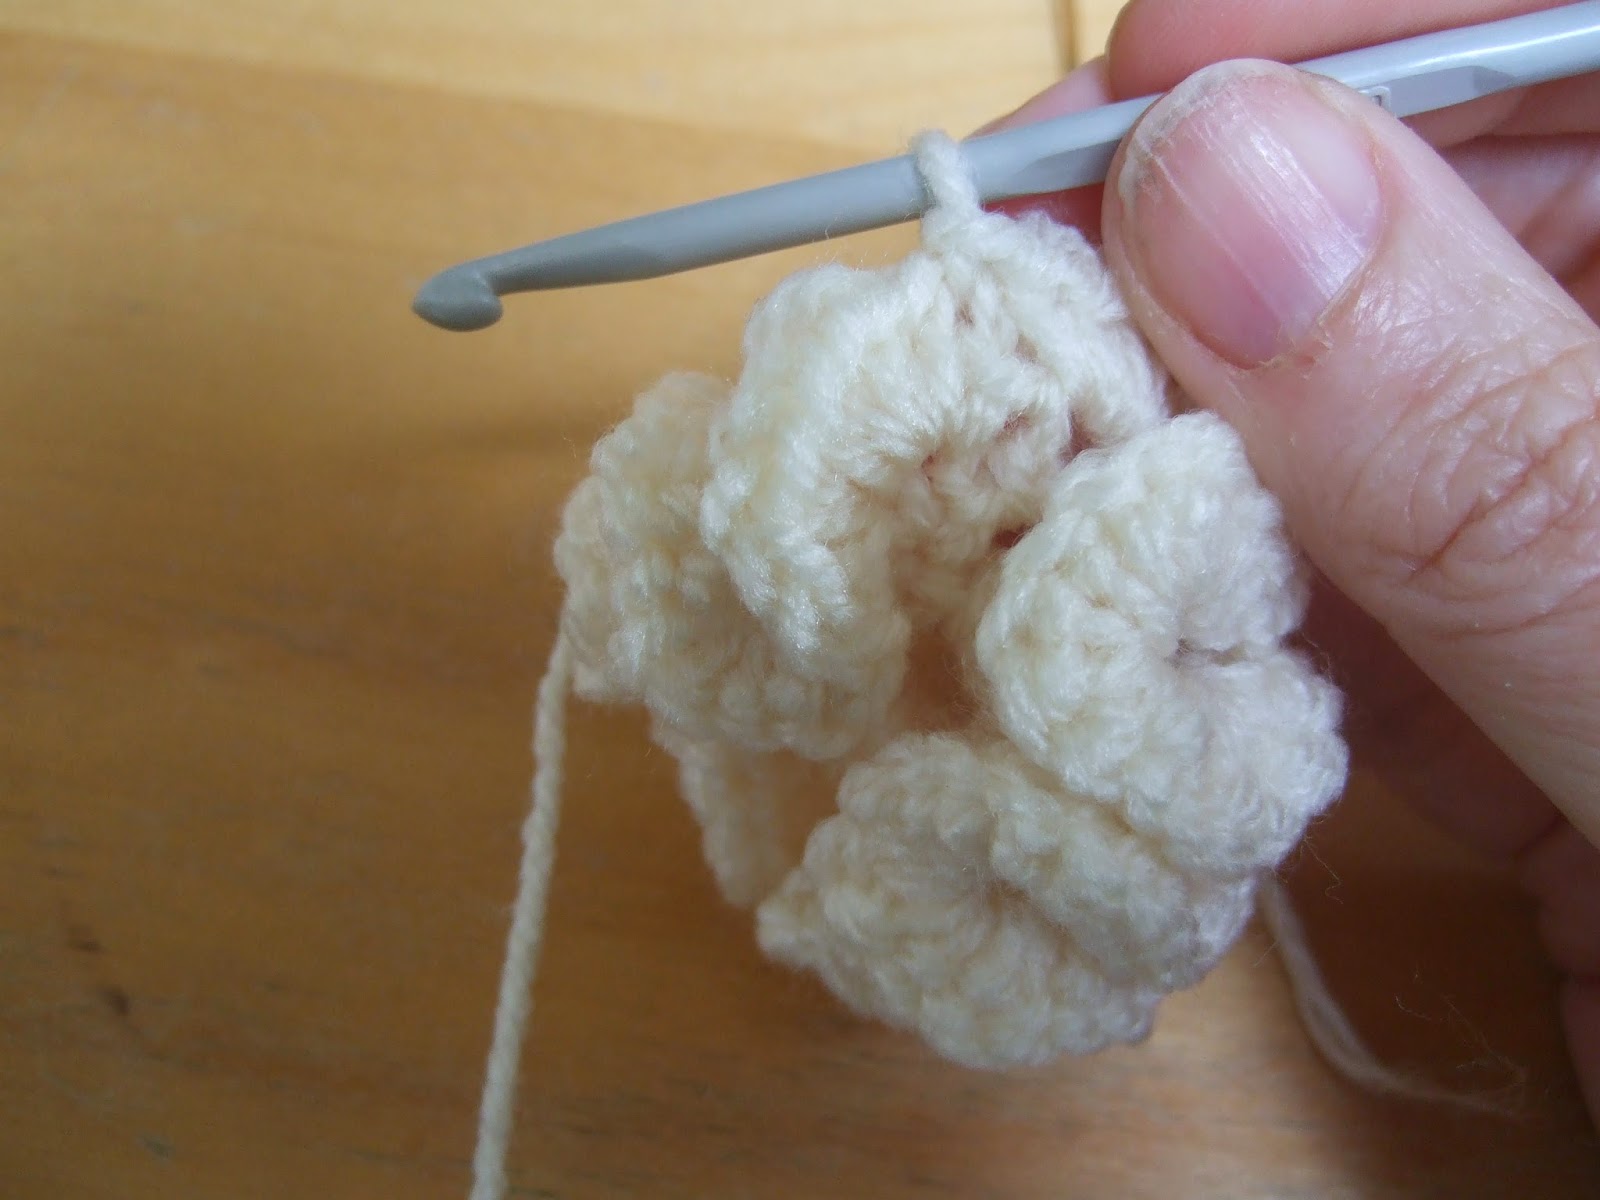
 This leaves you with something quite flower like but messy, and with an obvious hole.
 thread needle with tail
count 20 stitches, and insert needle through 20th stitch and 21st stitch.
 continue this way, counting 21st stitch as stitch one, count 20 and repeat until join up with the starting postion, pushing flower into correct position as you go.
 pull up tight and then sew through the centre to the back
 making sure to catch the base ring.
 tie off ends, then use these ends to attach buttons and brooch back.
 here are a few of finished pictures (without buttons)


 of course if you don't want to use buttons or leave it plain, there are many other options including beads.

You my use this pattern to make items to gift or sell. Please do not sell the pattern, or reproduce the instructions on your own website. Please link back to this pattern, if you use it.