Sunday, May 18, 2014

knitted baby hat with moss stitch bow

 This hat is the result of spending way too much time on Pinterest

I saw this lovely hat and then this lovely bow and decided to combine the two to make this using this guide to making any sized hat, based on the gauge of your knitting (it's an amazing website, the only thing I have changed is doing the rib on needles a size down from main hat)

 If you look closely there is a mistake in the rib beneath the bow, where I have two knit stitches together.
The bow is placed over the jog in the stripe, which is handy.
This is made in a bby size, but I'm thinking of making one to fit me.

Thursday, May 15, 2014

Quick crochet gift :crochet flower brooch tutorial


I have been looking for the perfect knitted or crocheted flower to make quick crochet gifts for ages (my pinterest boards are full of them) but I've never quite find what I was looking for.
I wanted something not too small but not too large, that was very quick too make, that sat flat, and didn't use much yarn.
I came up with this pattern while experimenting with a dahlia pattern.

 This is a view of the back, with a safety pin attched. It would look better with a proper brooch back.
 And here are a couple, experimenting with different colours.
 To make this use a scrap of yarn. (the one pictured used just 3g of yarn!) a suitable hook, and a yarn sewing needle.
 make 4 chain and join with a slip stitch

 chain 1 (counts as a stitch)
 double crochet (british) 7 times into circle .......(americans use sc everywhere it says dc or double crochet)
 Join with a slip stitch (you should have 8 stitches)
 chain 1 (counts as a stitch)
2 dc into base of chain
3 dc into each stitch, then slip stitch into first chain (24 stitches in total)


chain 1, 4 dc into base of chain,
 5 dc into each stitch
 join with a slip stitch, knot and break yarn leaving a long tail (120 stitches)

N.B. if you don't end up with 120 stitches, don't panic, just take whatever you have and divide it by six and use this for the count in the next step instead of the 20 given.
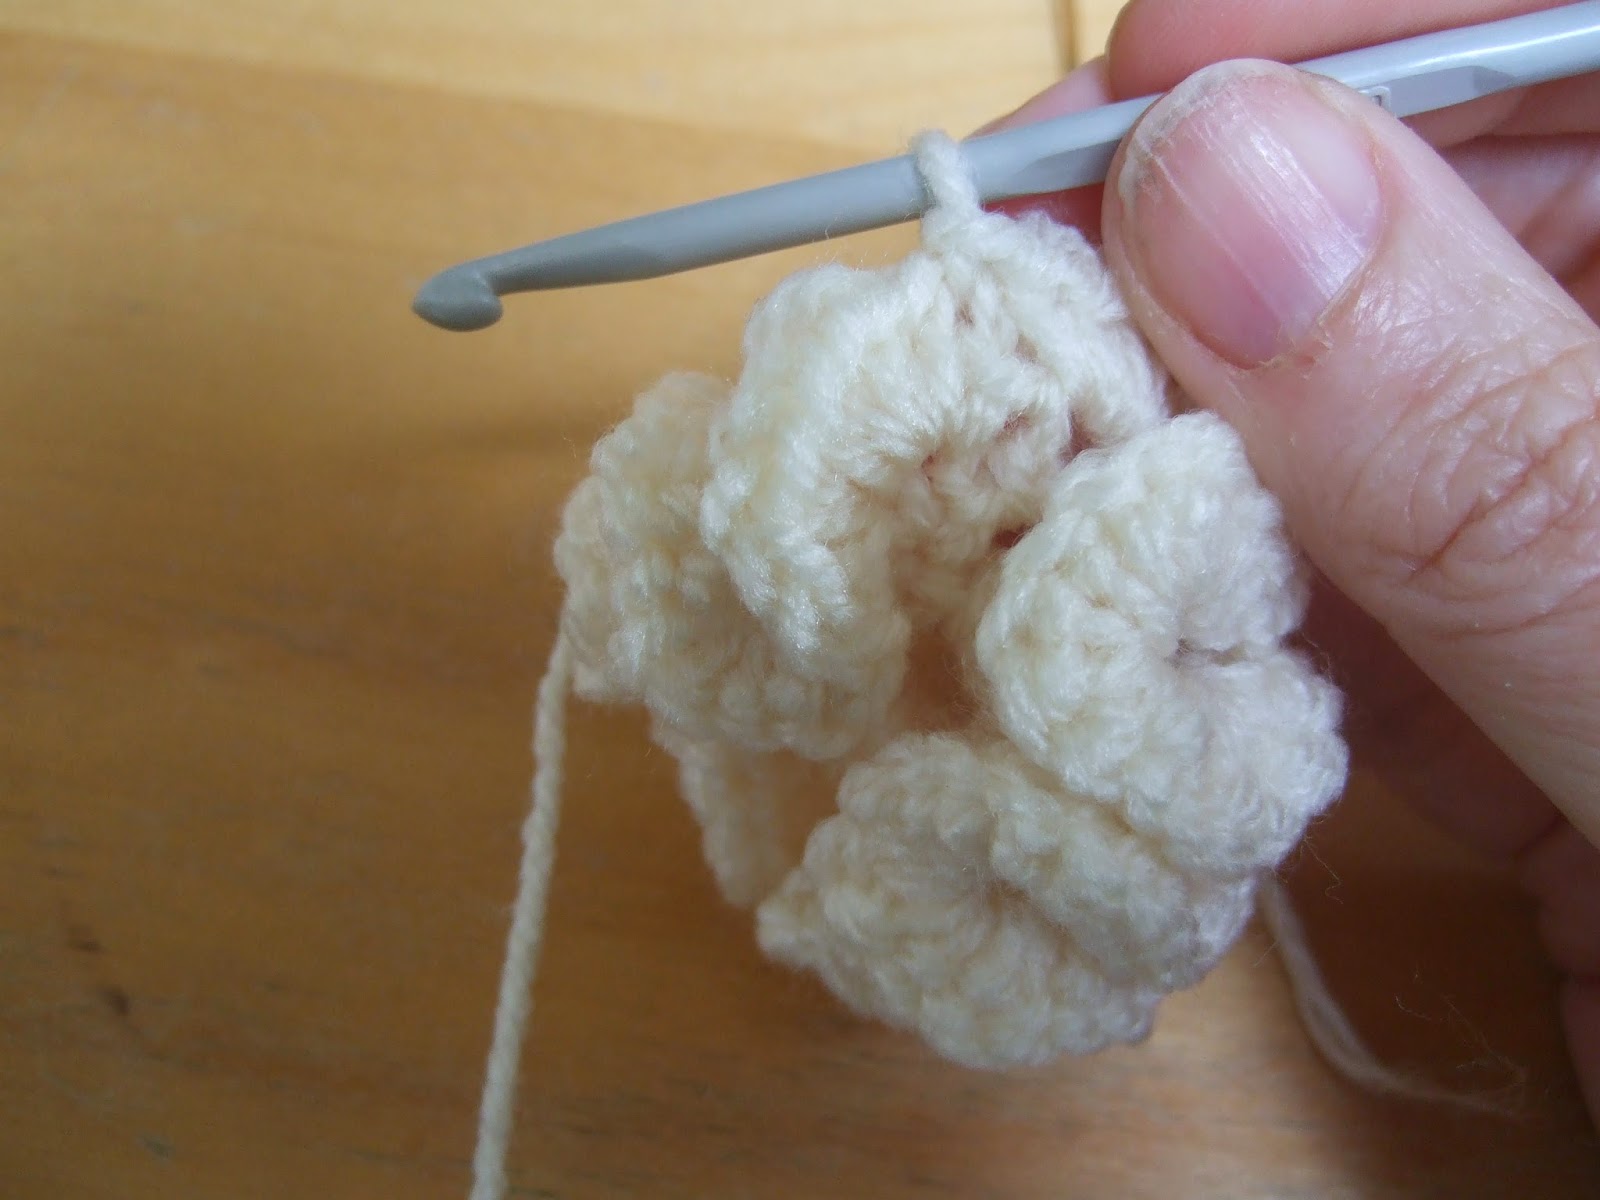
 This leaves you with something quite flower like but messy, and with an obvious hole.
 thread needle with tail
count 20 stitches, and insert needle through 20th stitch and 21st stitch.
 continue this way, counting 21st stitch as stitch one, count 20 and repeat until join up with the starting postion, pushing flower into correct position as you go.
 pull up tight and then sew through the centre to the back
 making sure to catch the base ring.
 tie off ends, then use these ends to attach buttons and brooch back.
 here are a few of finished pictures (without buttons)


 of course if you don't want to use buttons or leave it plain, there are many other options including beads.

You my use this pattern to make items to gift or sell. Please do not sell the pattern, or reproduce the instructions on your own website. Please link back to this pattern, if you use it.

Saturday, May 10, 2014

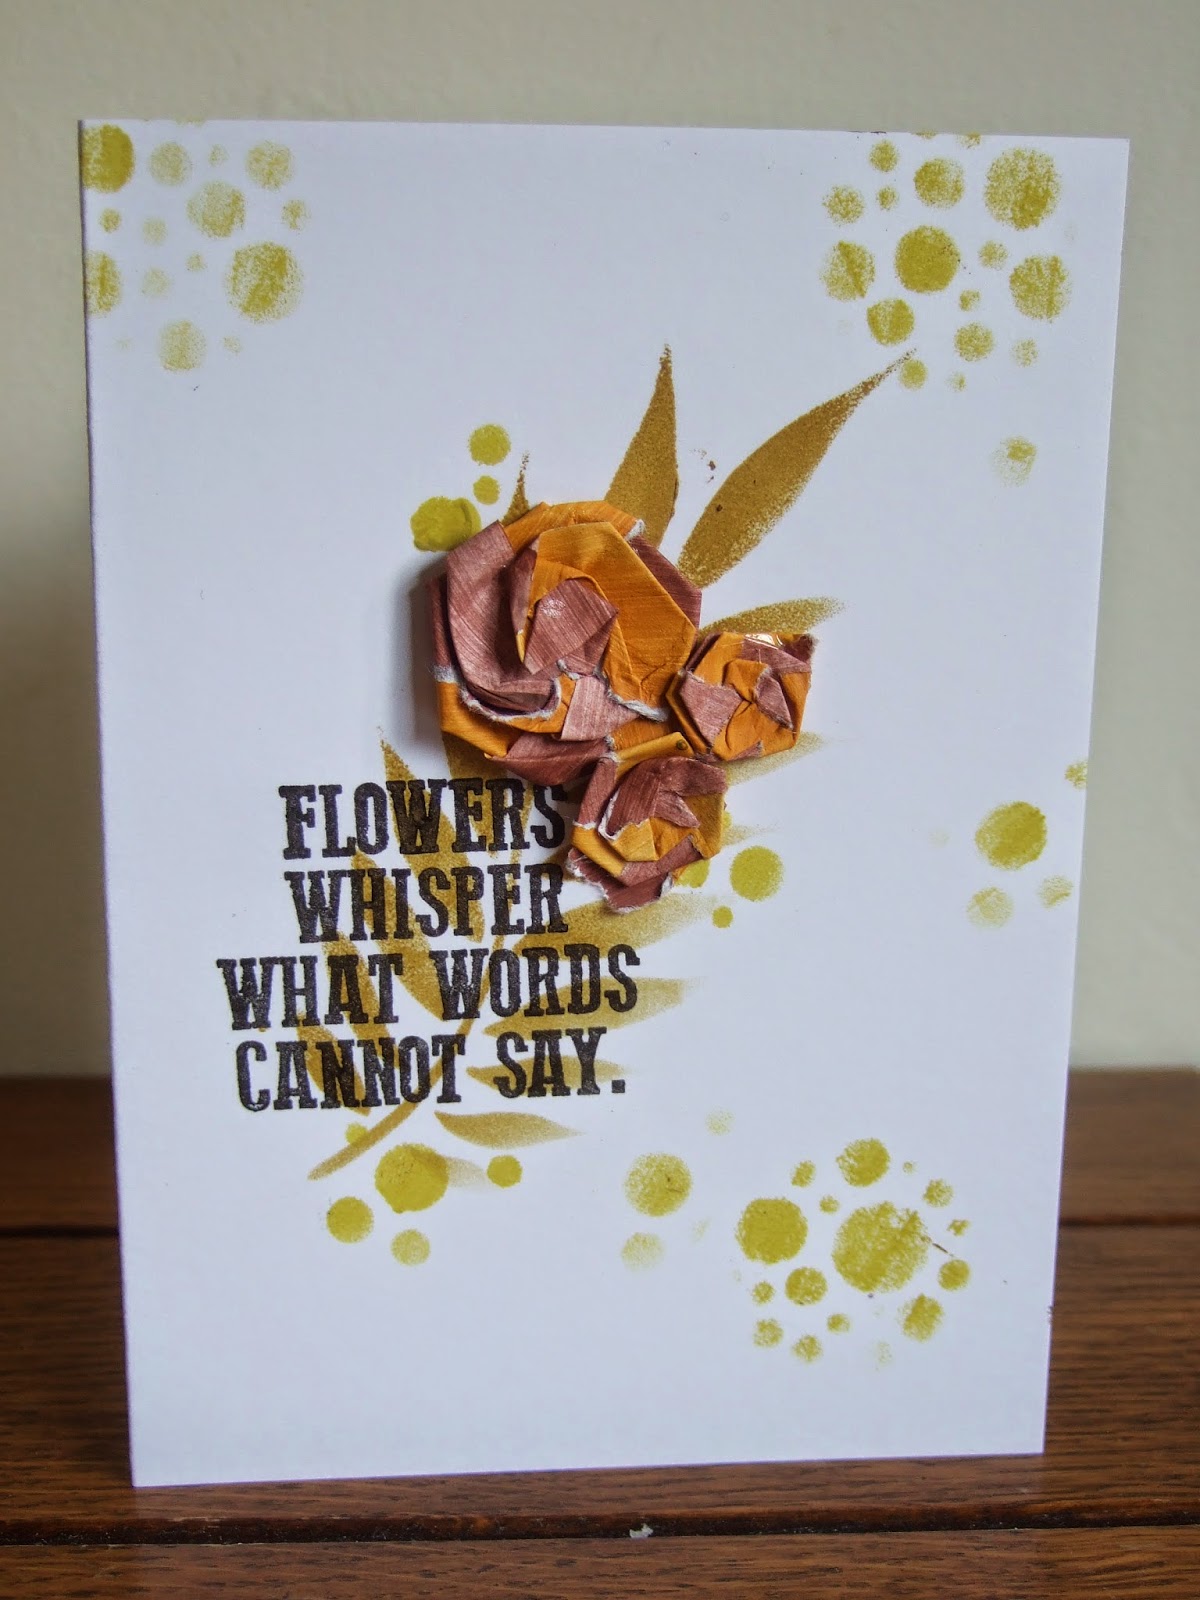
PaperArtsy blog - stencils and Paper flowers

 I'm back on the PaperArtsy blog again tonight. With a short tutorial to make these very easy flowers, and this card which uses lovely stencils.
Pop over and see it in full and don't forget to enter this week's challenge to win stamps.

Friday, May 09, 2014

Reversible Knitted Polka Dot Baby Blanket (double Knitting technique)


 This may just be my favourite thing that I have ever knitted. It was quite hard, but very rewarding.
It is quite large for a baby blanket, somewhere between stroller and cot size (I forgot to measure it before I gave it away).

I used two colour of Aran yarn and it used approximately 200g (200m) of each.

The technique is known as double knitting (not to be confused with double knitting yarn) and basically knits both sides of the fabric at the same time, creating two separate layers, the two layers become joined together where you cross the colours from front to back.


I used the following set of 3 excellent youtube videos to learn this beautiful technique

Friday, May 02, 2014

Harriet Hare

Meet Harriet Hare..

The lovely Laura Liddell from Flaxen Hare Designs asked me to have a play with her new kit, designed for teaching children to knit... and I fell in love with the lovely Harriet Hare.

The kit included Harriet, 5 balls of yarn (3 colour ways at the moment) needles and everything you need to get started, as well as some wonderful instructions. All of the pattern use just the knit stitch and then introduce basic shaping.

(photo from Flaxen Hare Designs)

The scarf, short dress and skirt all come from the kit, and are all easy to do. The skirt uses short row shaping, but beautifully explained so that it is so easy.

There are also instructions for a bag, pants, tshirt and boots.


Of course I couldn't resist making up my own pieces including this simple cable jumper,


and a crochet hat!


Thursday, April 03, 2014

PaperArtsy Blog

It's time for my PaperArtsy blog post, and it's a clean and simple card again.

You can see it in full here

don't forget that you can use my card as inspiration for the challenge, to win stamps.

Thursday, March 06, 2014

PaperArtsy Project

It's time for my monthly project on the PaperArtsy blog again.
This month I've gone for a card that is one layer, but is also shabby chic. One Layer doesn't always have to mean Clean!

I've used the gorgeous limited edition Jofy paint colours.

To finish the shabby chic look I created these shabby corners.

Don't forget that you can use my card as inspiration in the weekly challenge. I'm really hoping to see a few shabby corners there!


Tuesday, March 04, 2014

Chutney Tuesday: Carrot Chutney


I decided to make this chutney because I really like Carrots! So I was curious to know whether they would work as a chutney, after a bit of googling I found that Marks and Spencer's used to make a wensleydale and carrot chutney sandwich, which was widely regarded as delicious.... so I knew this had to be my next chutney project.


Ingredients
approx 1400g carrots (weight is before peeling) - grated (this is by far the most time consuming part)
2 onions diced
2 cooking apples finely diced
1 red chilli pepper finely sliced
2 tbls veg oil
1 tsp coriander seeds crushed.
350 ml cider vinegar
250g light muscovado sugar (or whatever brown sugar you have)


heat oil in large pan, add onion & chilli and cook until soft.
Add grated carrot and 2 tbls of the sugar and cook until carrots go limp and start to produce juice.
Add vinegar, rest of sugar and coriander and simmer for 20 mins covered and 20 mins uncovered, stirring frequently.

transfer to sterilised jars, squishing the chutney down in the jars.

makes approximately 1.5 litres of chutney.

Saturday, March 01, 2014

one layer simplicity #3 and less is more #161

I made a decision today that whatever the new challenges today at One Layer Simplicity and Less is more, I would combine them to make a card, and hopefully one that would be useful.

Less is More announced yellow and green as the theme, so straight away I thought Daffodils, and then One Layer Simplicity announced use water. yes! I could do that. (although just read the one layer simplicity challenge again, and it specifically says to use water to create a background or spritz your inked stamp, so this card probably doesn't qualify - it's okay, the kind people at the challenge have allowed it.... and even edited the challenge to include the technique :D.  )

I used distress inks and a water brush to colour this daffodil stamp from The frantic stamper.

And that's a mothers' day card sorted!

Thursday, February 27, 2014

One layer simplicity challenge #2

the one layer simplicity challenge has replaced the One Layer Wednesday Challenge.
I've been meaning to take part all month and made something today, but then have just spotted that the challenge only runs to the 24th of each month.
Oh well I may as well post it anyway.


The challenge was "Can you repeat yourself"
I made a really simple card, repeated the main stamp to create both a background and a focal image.

I added a little extra touch by cutting into the card at the corners of the masked off area, and then scuffing them with my knife blade to create a faux shabby chic layer. I'm really pleased with this effect so expect to see it a lot more on my cards!

All the stamps are from PaperArtsy