Showing posts with label giftwrap. Show all posts

Thursday, December 12, 2013

christmas bagelope

After making the bagelope for my guest designer spot at PaperArtsy, I realised I needed another to wrap a present for a friend
Before folding the envelope I stamped it with stamps from this set in brown inks, and again onto a white tag.
I also used the splatter from this set using white ink. The bell is from a set of 10 from the poundshop
The instructions for the bagelope are here.
I wish I could enter the challenge, but I think I wouldn't be allowed to!!

my final guest designer week at PaperArtsy

Have you seen my final week as guest designer on the PaperArtsy blog? I'm concentrating on last minute gifts and wrapping.
Of course there's a challenge, and you can win stamps.

Although I've officially finished my guest designer work at paperartsy, I'll still be popping up... to make sure that us clean and simple crafters are still represented!!

Monday, April 23, 2012

Kraft for Kids

 The theme at the Kraft Journal this week is Just For Kids. I decided to post this gift bag which I made from a kraft coloured A4 envelope for a new baby gift tag. The stamp is Lili of the Valley.

The image is coloured with pencils.
This was part of a set including the card from my last post. I've also included a picture of the bag when it was full. you can also see what was in the bag. a leopard print baby hat made with stylecraft safari chunky leopard

Sunday, March 18, 2012

ballerina gift bag from an A4 envelope


Continuing with the music theme for the March Happy Daze challenge, I decided to use some Tim Holtz tissue tape and lost Coast's Ballerina 2 to make a simple gift bag from a A4 envelope.

To make the bag cut the envelope to 9 inches long. Use the cut off part to make the tag.
score the sides and base of envelope at 1.5 inches and fold. Score 3 inches from the top and fold this to the inside of the bag. Do not make up the bag until all the inking is done. Attach the tissue tape all the way around the bag leaving a little space.


Fold back the bottom 1.5 inch and ink with vintage photo distress ink below and just above the tape.
Stamp Abstract foliage along the bottom with vintage photo.

Fold into the bag shape, glue the base triangles to the base of the bag.


Punch holes in the top, attach the tag (which was simply stamped, inked and coloured with pencils)

Tie ribbon through holes.

Friday, December 30, 2011

My wish for the new year..


...Happiness.
The challenge at stampotique is "wish for the new year".
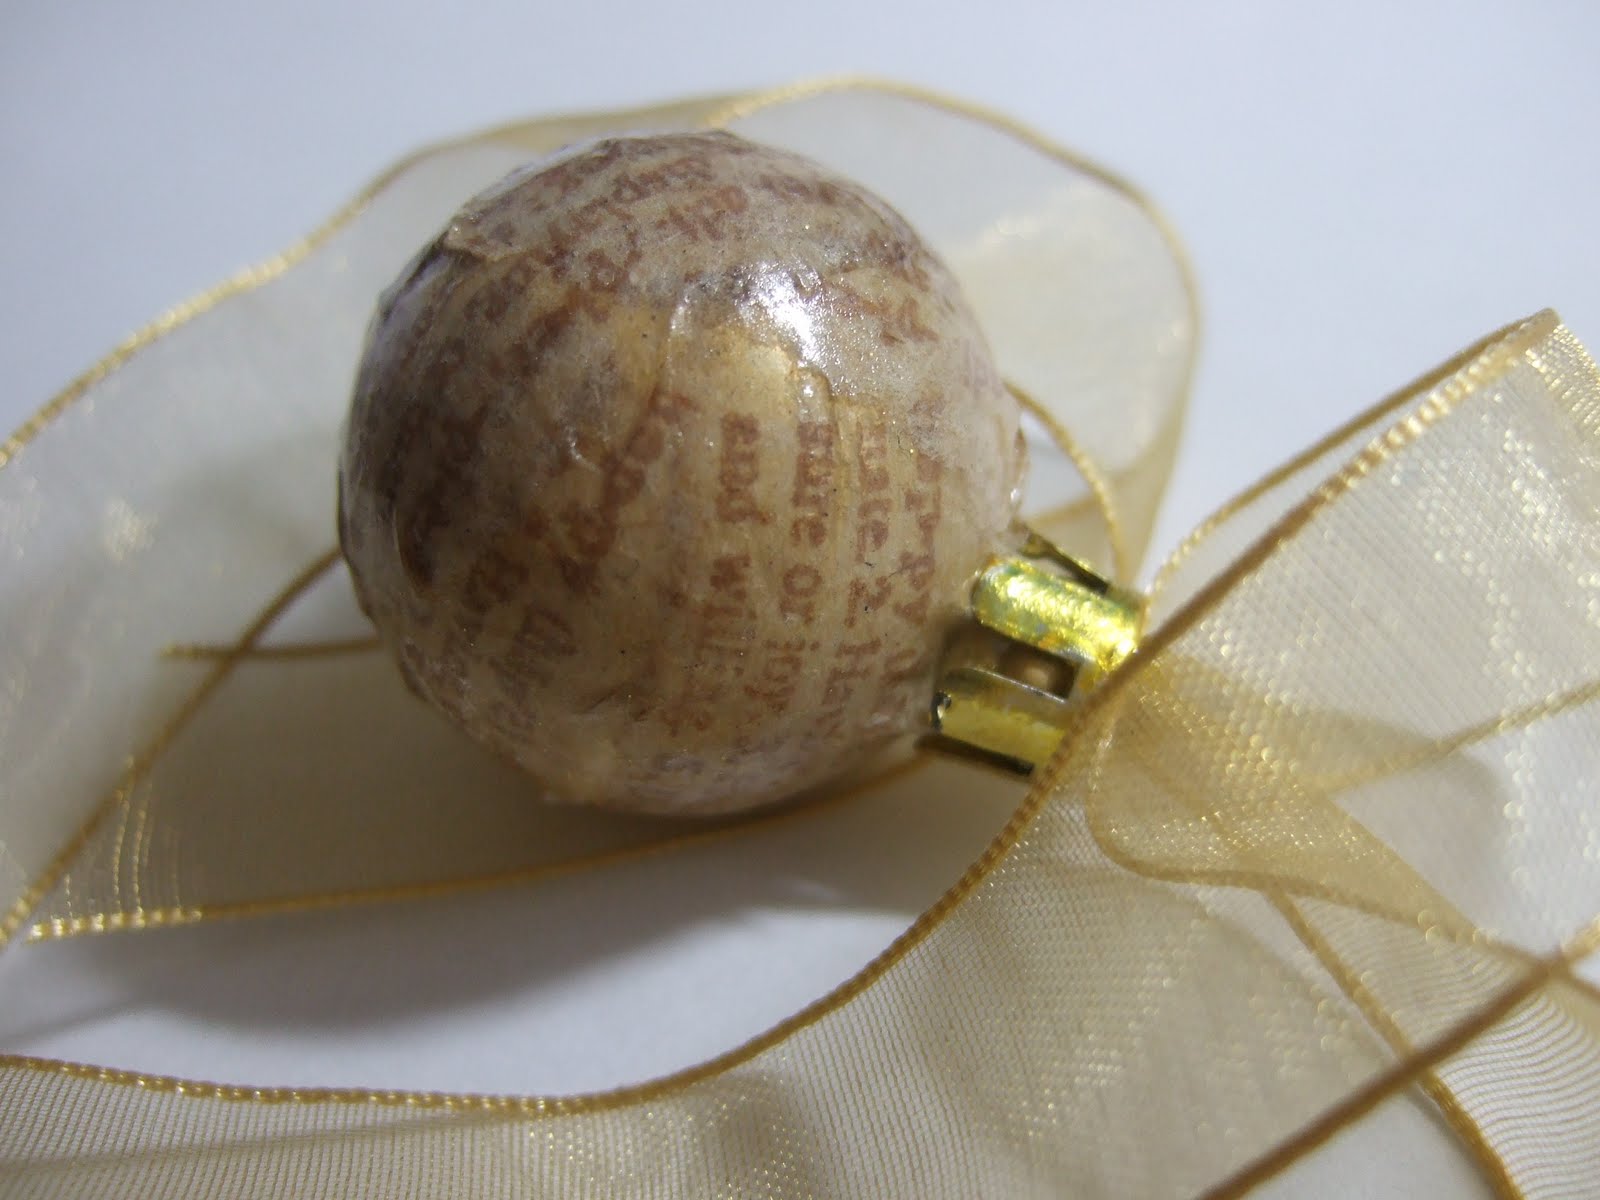
I decided to decorate a bauble with the Happy Definition from stampotique. This can then go on a bottle as a gift for a new year party host. I like the idea of giving decorations at new year, as people still have their trees up.

I stamped the definition repeatedly onto creamy/brown tissue paper, then tore it up (to remove the birthday bit of the definition. I attached this to small bauble with mod podge, left to dry and then sprayed with varnish.

Tuesday, December 20, 2011

perfect present for Grandma


A couple of years ago we bought my Mother-in-law a digital photo frame, and put some pictures onto a card for her. I thought it would be a nice idea to give her an SD card with some more recent pictures.


but then the SD card looked like such a boring (and small) present!


So I decided to make a box. To make it more personal I made the lid from photos of the children. I easily made this on "my craft studio" software by dropping photos on resizing and tilting. I printed this onto card to make the lid and made a base to fit in plain card. I then made a little niche (I will work out some proper measurements some time for how to do this, but I just made this up as I went along). I then decorated this up like a scrapbook page (my MIL is a scrapbooker)

Sunday, December 11, 2011

last minute gift for Happy Daze blog


To fit in with this month's challenge of gifts, cards and tags, I decided to share my last minute gift ideas. I often give Amazon vouchers as gifts, but any voucher that prints out onto an A4 sheet of paper will work.

I simply fold the voucher into thirds both ways to create a "z-fold" and then add covers (8cm x11cm) (be aware that the cover is attached to the top left corner of the voucher so make sure that there isn't any important information there.

The covers can then be decorated anyway you like. I have used Stamps from Stampotique.

Monday, November 21, 2011

Another Fancy Way to Present a Voucher


I've previously presented my scroll box as a way of presenting a printed out amazon voucher, but this year I decided I needed a new method.
This is also for the gift challenge at the Kraft Journal


This is what I believe is called a "Z-fold" The A4 sheet of paper is folded into thirds to make a DL size (in a z) and then the other way.

two pieces of card are cut (8cm x11cm) and the corners rounded. One of these will be the front and I concentrated all of my decoration on this. I used tea dye distress ink around the edges with cut n dry foam and then stamped in the same ink with a selection of PaperArtsy stamps and a rub-on message.

Check how the fold opens so that the front of the fold is in the front left hand corner of the certificate. Fold up the certificate and then attach the front and back pieces.


The certificate should now unfold and fold easily, just by pulling apart the covers (it's quite clever)

I kept the back very plain

The finished item easily tucks into a card


or can be presented as a gift.


Monday, June 27, 2011

Gingersnap: The colour of money


The new theme at gingersnap is "the colour of money" where you are supposed to make your piece inspired by the colour of the money where you live or where you are from.

I took the challenge literally and decided to use actual money in my creation. I actually really like the colour of the twenty pound note so have used that as part of my creation as well as to inspire the box.

I often give cash as a gift, but it can look a bit dull and as though not much thought has gone into it, so I thought if you could make it into a gift it would be pretty cool.

First I made an origami butterfly. then I made a box with an acetate lid. Interestingly, I decided to only decorate the inside of the box (before folding) . I used all stampotique stamps to do this.

Friday, May 20, 2011

recycling challenge at Stampotique


Welcome back to the Stampotique Designer's Challenge!

This week, Valerie is excited to challenge us to make use of items that might otherwise be destined for the landfill by re-using them or re-purposing them into a unique piece of art. The design team has pulled out all of the stops to provide the most wonderful inspiration for this challenge!!

Join our fabulous design team and create a project using stamps from any company for your chance to win a $30 Stampotique Originals gift certificate. We will randomly pick a winner with the announcement of the next challenge.

I recycled a chocolate pudding pot, to make a little gift bucket, using stampotique stamps.

Monday, April 25, 2011

how to crochet a Lei..


I recently went to a Hawaiian night and thought it would be fun to crochet my own Lei. I thought "I bet there's loads of patterns on the internet"".....wrong I couldn't find any.

So I decided to make mine up. Unfortunately, I've lost the bit of paper I wrote it down on so I'm doing it from memory....

Create a chain the length you want your completed lei to be. in the third chain from the hook Treble crochet 2 stitches (british stitches) then 3 tr into each chain all the way across, this will cause the lei to twist a little but will still be quite stretchy.

at end turn, and perform 1dc 1tr 1dtr 1tr 1dc into EACH tr of previous row. This will naturally curl into a spiral and be very firm.
at the last stitch run the thread down to the chain row. you should now have a loose thread at each end, just tie these together and work in the ends.

This uses a lot of yarn. I bought 100g of cheap yarn and had just enough left to make a flower hairclip to match, which ended up as a gift decoration!
I also made a quick bag from a tea towel from a pack from poundland. The pattern said Hawaiian to me, so I had to make it..


This is not one of the reversible ones, so I made a special effort to sew the straps on neatly.

Monday, March 21, 2011

forever friends guest appearance.


Although I have given up my place on the forever friends DT (I was just a little over-committed!) I have still taken part in the current challenge as I was sent some lovely images from DRS designs to play with. The challenge is a colour bingo challenge. Choose 3 colours from the bingo card, in either a vertical, horizontal or diagonal line (or you can use all of the colours)

I chose the bottom left to top right diagonal and used the make a wish candles and words to make a cake box.

I thought this would be a nice thing to give someone on their birthday, the candle on the front of the box can be removed and used on the cake.

Saturday, February 12, 2011

Happy Valentine Weekend with Stampotique


There's plenty of love inspiration at the stampotique designer's challenge. As the design team has grown, the challenge posts are now split over 4 posts, so it's worth popping back and seeing all the creations.
Don't forget to take part in the challenge, and as it's the first challenge of the month you don't even have to use Stampotique stamps (and lets face it we all have something love themed in our collection) and you could win $30 worth of stamps!!

My challenge piece will be posted on wednesday, but you can get a preview here. I decided to make a simple valentine gift box. (I did see something similar to this on a blog recently and meant to credit it but can't find it, if you know where it is please let me know.) - I found it.... here

I simply chose the size of label die that fit my image and then made a really simple box, and used the diecut as a lid. I added a ribbon and a tag and fastened with velcro.

This would be perfect for holding chocolate or jewellery, but believe it or not actually holds 3 pairs of socks!!

stamps used 3019 bow heart
6119 hanging hearts

which are available direct from Stampotique or from Happy Daze in the UK

Saturday, November 20, 2010

birthday card and present for 13 year old boy!

Did I feel a shudder then at the thought of not only trying to come up with a present but also making a card for a 13 year old boy?
I thought so.


Well luckily I didn't have long to think about it so I just had to go with simple. I'm fairly pleased with the outcome, it's no masterpiece, but it passed the husband test. The card blank is from a pack of Papermania Kraft cards, I am so pleased I found these, they are just gorgeous. The knot is again the immovable knot from Simplicity. if you haven't tried this technique yet, then go do it now.


seriously what are you waiting for? It's amazing.

it's okay, I'll wait while you go...


dum de dum.


meanwhile, I also needed a present.

of course it has to be an Amazon Voucher. SO I made another of my scroll boxes. But this time I kept it really simple. The folded tag is made from some of the offcut from making the box and is perfect for holding the tie closure in place.

The immovable knot is one of my favourite techniques at the moment so I am entering this for the lots to do challenge

Sunday, August 22, 2010

quick gift wrapping


You know how it is, you don't want to spend forever (or a fortune) wrapping a present (for someone who won't appreciate it) but you absolutely cannot just leave it just wrapped in paper.
Flowers are the perfect solution, and die cutting your flowers from your cheap supermarket wrapping paper (Morrison's) is even better. I used the two smaller grunge flower dies from PaperArtsy.