 I got a lovely response to the last t-shirt cushion that I made I decided that while I was making another one today I would put together a tutorial.
Start with a favourite t-shirt that your child has grown out of and make sure it's ironed.
you will also need: a cushion pad (I got mine from poundland!); needle and thread; pins; a ruler
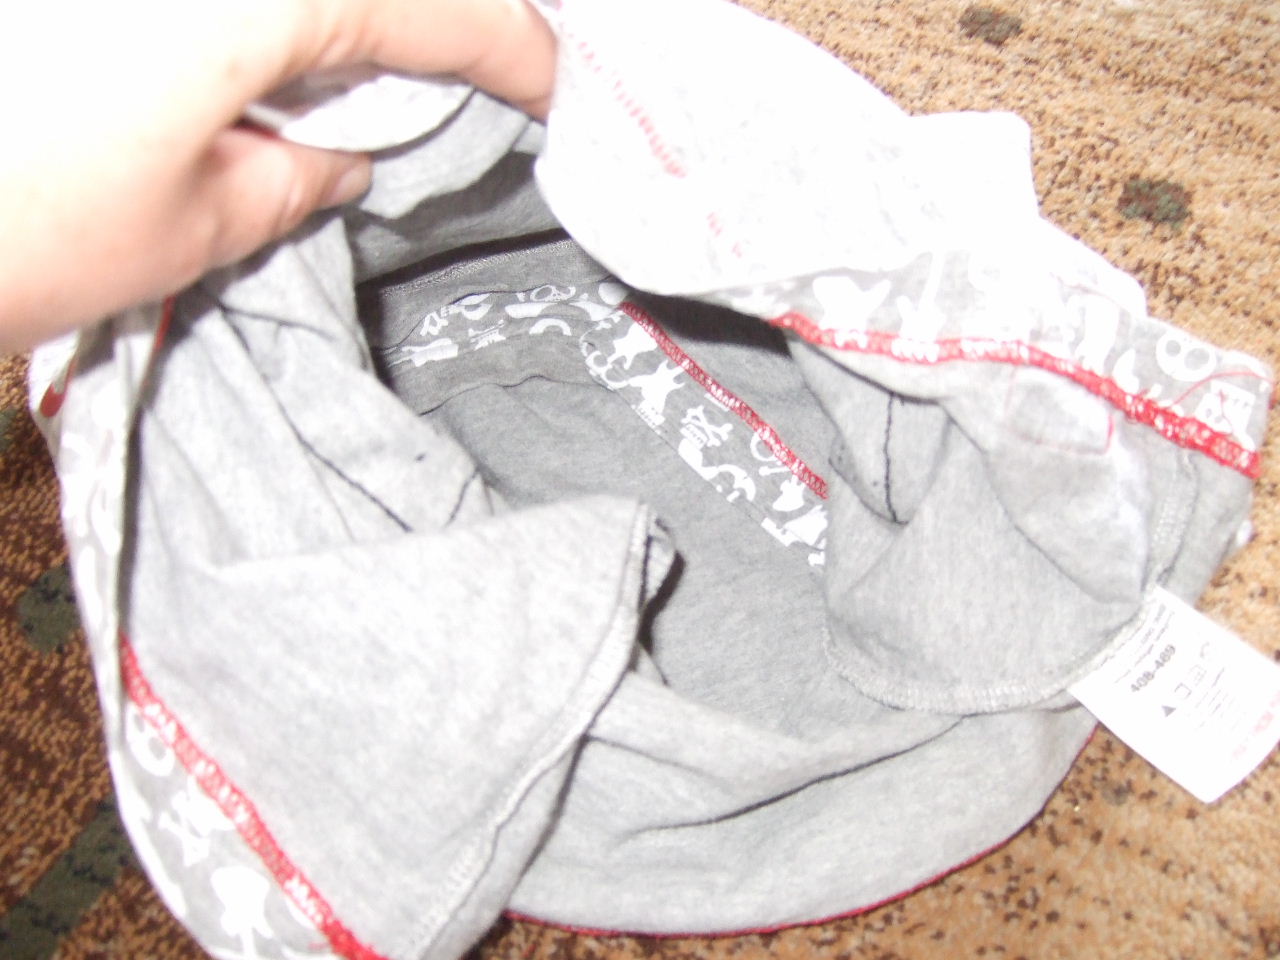
 turn inside out and mark the largest square you can between the arm seams and neck. Pin the two sides together, leaving most of the bottom edge unpinned.
 sew, either by machine or hand, the two sides together, leaving a large opening, but going past the corners on the opening edge.
I like to hand sew, as I find it relaxing and can do it anywhere.
 turn inside out, leaving the rest of the t-shirt intact, use your hands to flatten down the sleeves and neck edge inside.
 fold the bottom edges inside
 insert the cushion pad, ensuring the sleeves etc still lie flat
 neatly close the edge with pins
 sew together, trying to keep the stitches hidden
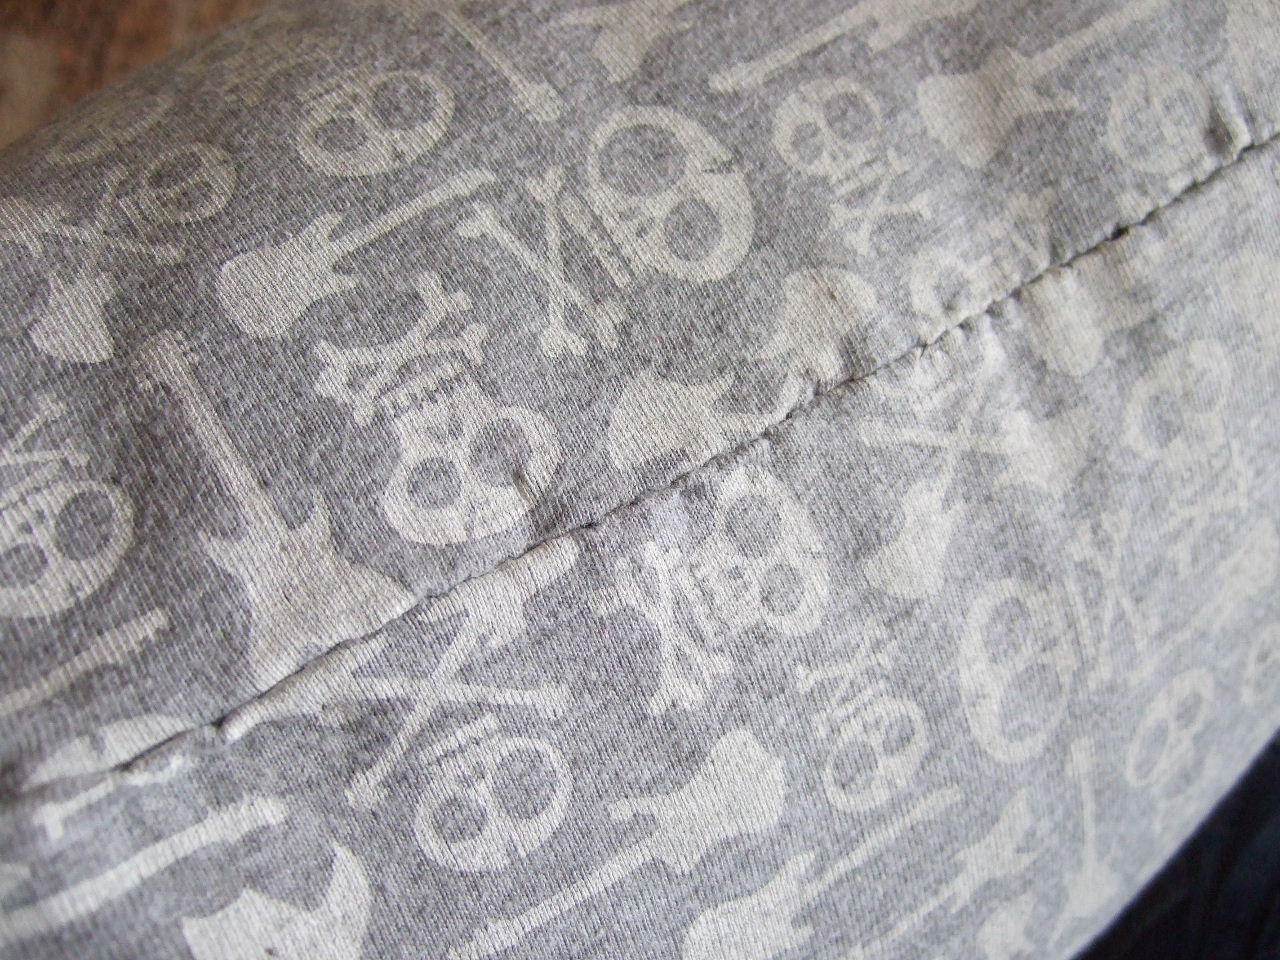 you could of course add a zip, but I love the simplicity of doing it this way, and my son loves his cushions, and wants to grow out of more of his t-shirts so that he can have a huge stack of them on his bed.


.jpg)


.png)


Great tutorial, Joanne. Love the cushion. It's a fab way to recycle old T shirts
ReplyDeleteFab tutorial Joanne. The cushion looks really cool.
ReplyDeleteI love this idea, and that cushion is way cool
ReplyDeletefab idea :D
ReplyDeleteJulie xx
I think this is a brilliant idea Joanne. I'm trying to persuade Jack that's what he'd like me to do with his!
ReplyDeleteHey there Joanne! this is brilliant, what a great way to recycle Tee shirts. Thank you for sharing x
ReplyDeletewhat a great idea.. just found my sewing machine again.. and know the perfect t shirt that this would work with:0 thank you for the inspiration
ReplyDeleteHugs x
great tutorial Joanne - must go and nab some of hubby's old tees lol.
ReplyDeleteMy boys would love a pillow like that! I should make a few of those for each of them to put on their beds... simple and affordable decorating!
ReplyDeleteWhat a great way of saving those "commenerative" tees......I just found this so sorry I'm so late :)
ReplyDeleteThanks much