Happy New Year!!
In a fit of nostalgia I decided to have a look through my last year of blogging, to pick out some of the posts that sum up my year in crafting. Either when I found a new technique or tool that I loved, or just something i really love
The year started well with a six month stint on the Scrolls Work design Team. I had previously been on the Inka design team, so was delighted to be promoting their stamps again.
I made this unusual tag in a card design, which I later did as a tutorial on gingersnaps
http://madebyjoanne.blogspot.com/2010/02/theme-thursday-girls.htmlI also had a brief stint playing with Zentangles
http://madebyjoanne.blogspot.com/2010/02/zentangle-heart.html
Then I was asked to be a 2010 member of the Frantic Stamper Design team, and I made this tag with my first batch of goodies
http://madebyjoanne.blogspot.com/2010/03/tag-tuesday-arch.htmlMarch arrived and I started planning my christmas presents. I came up with this pattern for Crochet Slippers, which I made for my book group (9 pairs, and I DID finish them on time)
http://madebyjoanne.blogspot.com/2010/03/crochet-slippers.htmlThis next one was a fun one, when I decided to challenge myself to see if I could make an attractive balaclava!
http://madebyjoanne.blogspot.com/2010/04/at-last-perfect-profile-picture.htmlThen my obsession with pencil colouring started with a tutorial on the gingersnap blog
http://madebyjoanne.blogspot.com/2010/05/quick-and-easy-pencil-colouring.htmlAlmost halfway through the year and my good friend Jo had her designs made into stamps by Stampotique. And I just loved working with them
http://madebyjoanne.blogspot.com/2010/05/jasmine.htmlwhich was handy when I joined the Happy Daze Design team
http://madebyjoanne.blogspot.com/2010/06/happy-daze-design-team-announcement-tag.htmlI also became a regular contributor to Craft Stamper Magazine, and have had quite a few article in the magazine this year, with more planned for next year. It's been such a joy to see my work in print amongst proper talented, and well known, designers. ( ever had that "I'm not worthy" feeling?)
http://madebyjoanne.blogspot.com/2010/06/august-craft-stamper-sneak-peaks.htmlThis next one, is when I discovered that I could design a template for a swing card. I am planning to put this together as a tutorial sometime
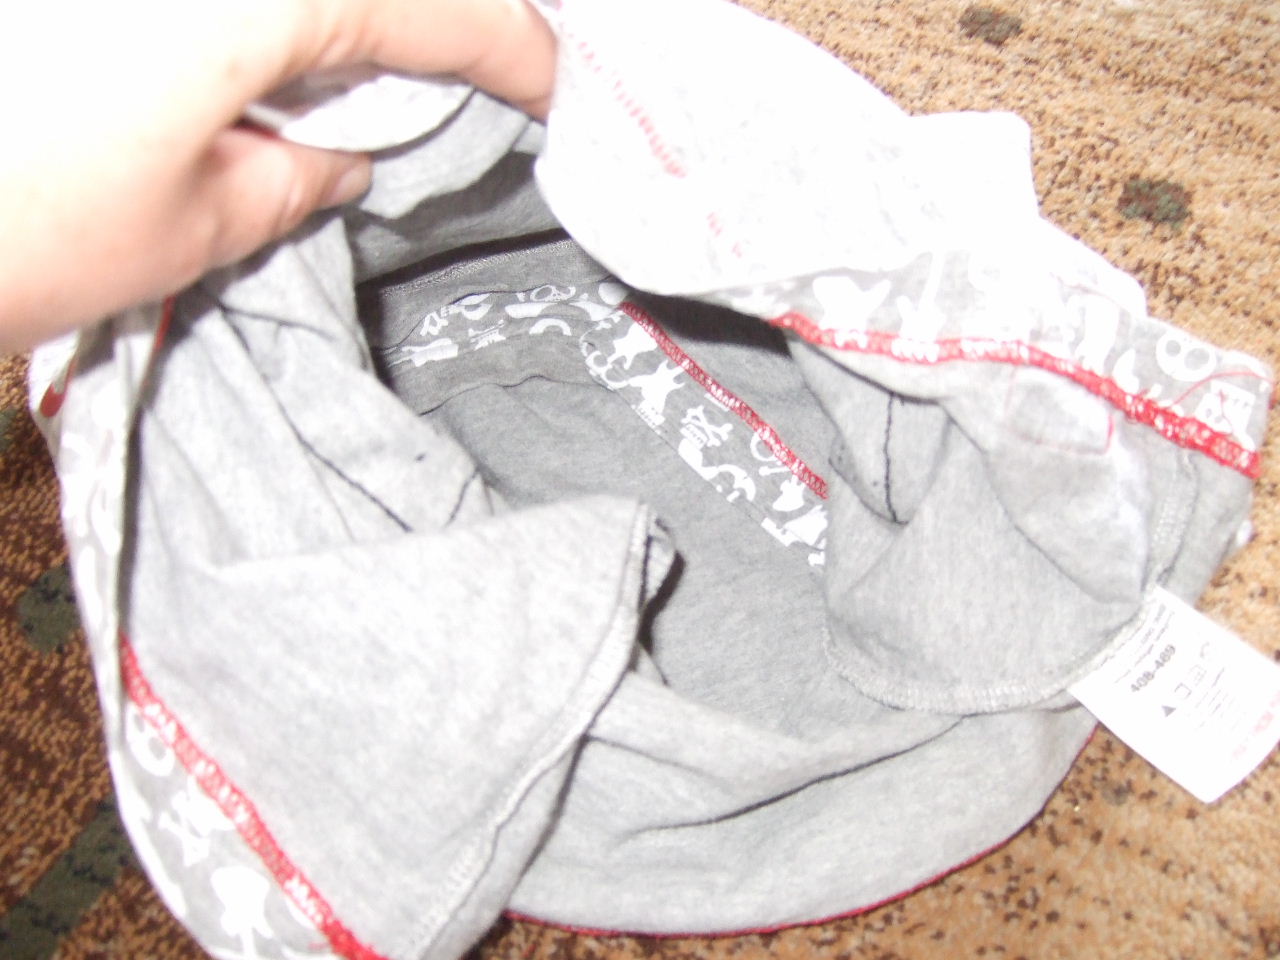
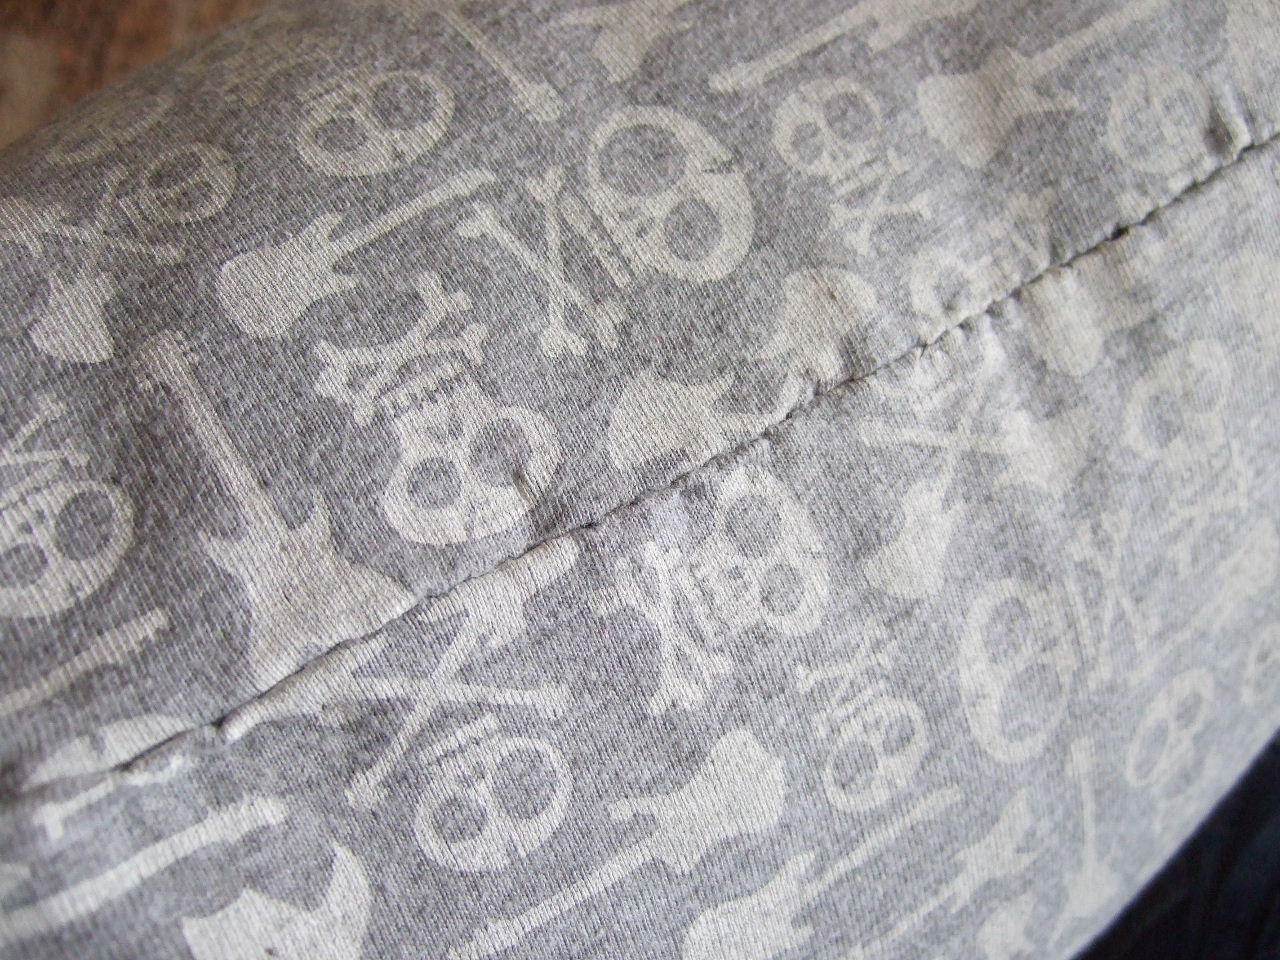
http://madebyjoanne.blogspot.com/2010/05/kinetic-card.htmlI found a way to "upcycle" my son's favourite t-shirts to make cushions
http://madebyjoanne.blogspot.com/2010/06/t-shirt-cushion-tutorial.htmlThis is just a really simple sympathy card, that I liked.
http://madebyjoanne.blogspot.com/2010/06/sympathy-card.htmland a fun card for a boy
http://madebyjoanne.blogspot.com/2010/06/gc20-shades-of-blue.htmlA cake for my son's birthday and my obsession with nail art begins
http://madebyjoanne.blogspot.com/2010/07/climbing-wall-cake-and-some-nail-art.htmla fun paint experiment that I enjoyed
http://madebyjoanne.blogspot.com/2010/08/gingersnap-creations-paint.htmlI realised how much I loved One Layer Cards....
http://madebyjoanne.blogspot.com/2010/09/one-layer-wednesday-trees.html.... pencil colouring on Kraft card...
http://madebyjoanne.blogspot.com/2010/09/brrrr-its-chilly.html......masks (I just saw a very similar card to this on create and craft today)....
http://madebyjoanne.blogspot.com/2010/10/going-dotty.html.... the immovable knot technique (not my invention, link included)
http://madebyjoanne.blogspot.com/2010/11/girly-girl-sweet-sixteen.html....and blender pencils
http://madebyjoanne.blogspot.com/2010/09/brrrr-its-chilly.htmlmore knitting, loved this toy that I made for my son
http://madebyjoanne.blogspot.com/2010/10/daphne-and-delilah.htmlMoira at happy daze challenged me to use a bee stamp to make a christmas card
http://madebyjoanne.blogspot.com/2010/10/bee-lieve.htmlapproaching the end of the year I was asked to join the Rogue Redhead design team, and used the stamps to make one of my favourite discoveries of the year, a box to hold a rolled up amazon voucher..... presents sorted forever!!!!! (tutorial included)
http://madebyjoanne.blogspot.com/2010/11/box-for-scroll-or-rolled-voucher.htmlthen to finish the year off, I was asked to be guest designer on the winter wonderland challenge
http://madebyjoanne.blogspot.com/2010/12/winter-wonderland-designer-in-spotlight.htmlSo all in all, it's been a brilliant year! I've really enjoyed looking back over the year, it's made me realise just how much I've done, and I can't wait for another year of crafting!

 Work with the T-shirt inside out.
 turn the th-shirt over so you are working from the back (still inside out)cut up the sides nearly to the arm hole. You will actually cut it all the way up, but just cutting this far, helps to hold the positions of the front and back.
 Fold the front of the t-shirt inside the t-shirt to make the square you decided on previously.( this will make the envelope flap, so the longer it is, the better.)
 fold up the back, to shorten it ( I made it shorter than the front, but have since decided that it is better to actually make it the same length)









.png)


